 Home > Company
News
Home > Company
News1、Components:

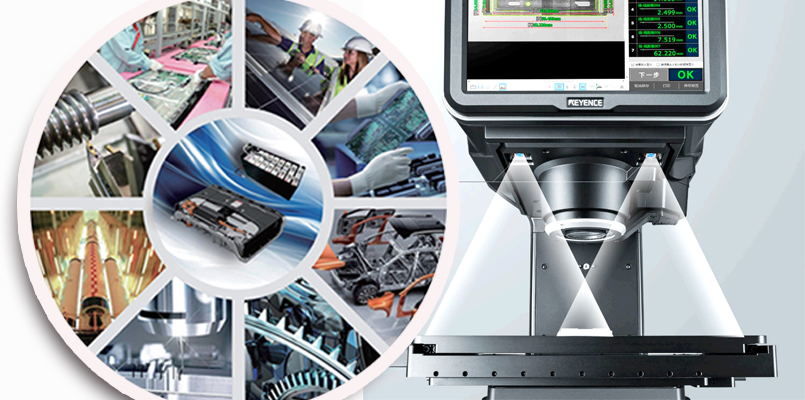
The core hardware of the one-click image measuring instrument is composed of an upper and lower light source, a high-pixel CCD camera, a large viewing angle and large depth of field telecentric lens and a fixed stage, and the structure is relatively simple.
2、Principle:
One-click image measuring instrument is a new type of image measuring technology. The difference between it and the traditional 2D image measuring instrument is that it no longer needs the grating scale displacement sensor as the accuracy standard, and it does not use a large focal length lens to enlarge the product image to ensure the measurement accuracy. The one-click measuring instrument uses a telecentric lens with a large viewing angle and large depth of field to reduce the contour image of the product by several or tens of times and then transfer it to a multi-megapixel high-resolution CCD camera for digital processing, and then,the background drawing and measurement software has powerful computing capabilities can quickly grab the outline according to the pre-programmed instructions. Finally, comparing it with the ruler formed by the small pixels of the high-resolution camera to calculate the dimension and complete the evaluation of the dimensional tolerance.
3、Characteristics:
1.Accurate flash measurement, extremely fast measurement speed. It can complete the drawing, measurement and tolerance evaluation of less than 100 dimensions in 1 second, and the efficiency is dozens of times than that of the traditional 2D image measuring instrument.
2. Automatic image matching function. Measuring workpiece can be placed arbitrarily, don’t need positioning fixture, focus adjustment and manual operation of the stage;
3. Multiple workpieces can be measured together at the same time. Don’t need a single measurement for each workpiece; avoiding errors due to increased measurement stroke. The repeated measurement accuracy is high, which solves the phenomenon of poor consistency of repeated measurement data for the same product.

4. Accurate measurement, simple operation, can quickly complete all measurement processes, and output measurement results
5. The instrument has a simple structure, does not require a displacement scale or grating ruler, and does not require platform movement during the measurement process, effectively preventing measurement errors caused by product displacement; the stability of the instrument is very good.
6. Only need one function calibration key, multi-angle, omni-directional, and full-field calibration to ensure measurement accuracy
7. Automatically save and output the evaluation report of measured size and tolerance. The product name, measurement date, measurement time, and measurement personnel in the report can be clearly found, which is convenient for future tracking
4、Application fields
Junhua ChinaPEEK s is a full-industry chain company that integrates PEEK resin polymerization, continuous extrusion of sheets, rods, tubes, sheets and others, as well as the development, production and sales of finished parts. PEEK is widely used in aerospace, national defense and military industry, automobile manufacturing, electronic and electrical, medical and other fields with its excellent comprehensive properties.
Newly purchased one-click image measuring instrument is widely used in automobile manufacturing, electrical and electronic, medical industries and other fields, contributing to the quality of products used in these industries. With this instrument, the measurement of the product is not difficult any more, the inspection efficiency is greatly improved, and the product delivery will be more punctual; the product size will be more accurate, and the product quality will be better. The future of our company will be better, the company will grow stronger, and the company’s business will flourish.

View More (Total0)Comment Lists